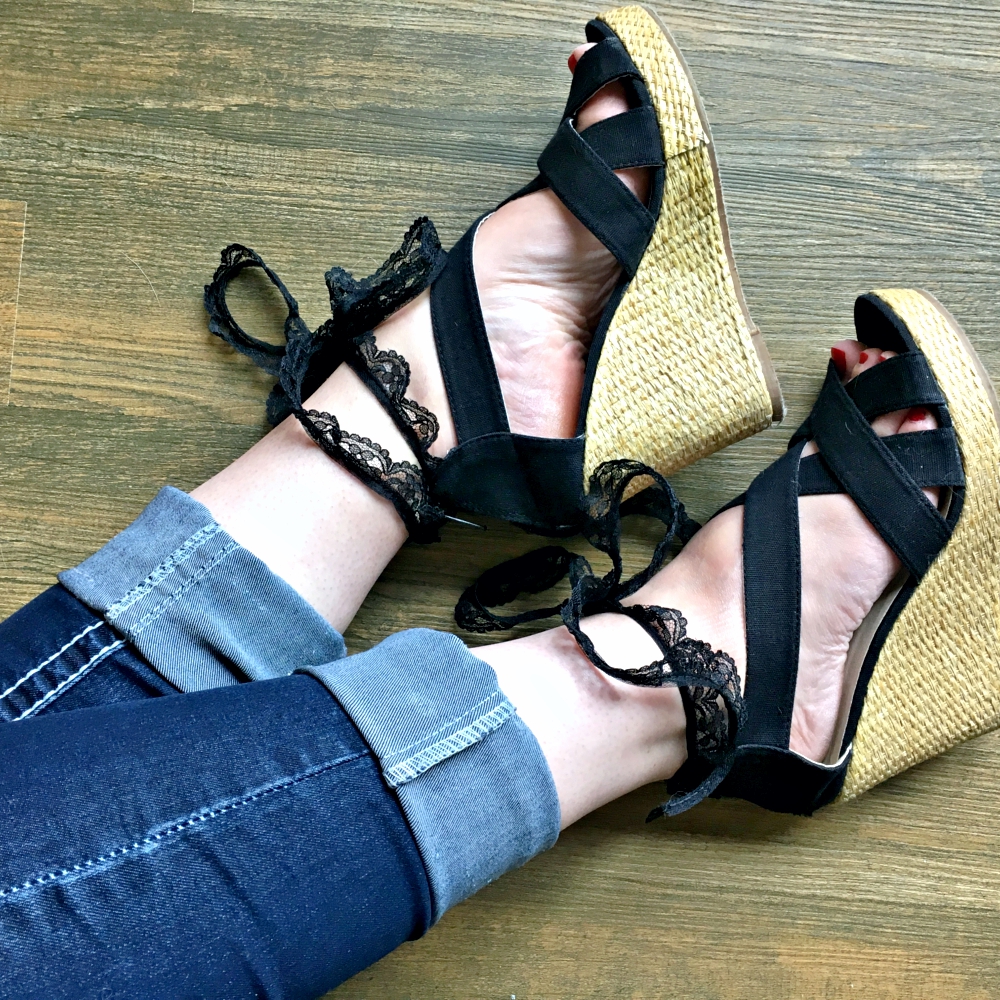
I have this adorable pair of black strappy rattan wedges. Not only are they actually comfortable, but they go with so much of my wardrobe. Unfortunately the heel is so loose that every time I wear them the shoes slip right off. No bueno.
I didn’t want to just get rid of them (and because I’m a fan of coming up with crafty, creative solutions), so I came up with an idea to fix the problem. I decided to add ribbon to the back of the shoe to tie around my ankle to prevent the heel slippage. Bonus- I also now have one-of-a-kind shoes!
After trying the shoes on and determining where I could attach the ribbon, I pulled out my supplies: ribbon, scissors, pins. Disclosure: I used my sewing machine to actually sew on the ribbon, but if you don’t have a machine, or just don’t possess sewing skills, you can absolutely use fabric glue (such as the Liquid Stitch pictured above) or a hot glue gun. No judging here. 😉
I decided to go with the lace ribbon over the ruffled one simply because I liked the Spanish Señorita vibe it gave. I simply unwound it from the spool and wrapped it around my ankle to determine how long I wanted it to be. Then I cut that long length in half, since I knew I was attaching each half to the back of my shoe. Two long lengths = four shorter ties.
Pin away. I simply attached the four cut ribbons to the back of the shoe on either side of the zipper.
I zipped them through the sewing machine, and a few short minutes later I have customized sandals with lacy ruffle ankle straps. And zero heel slippage.
This basic tutorial can be used for pretty much any shoe. Figure out where you want to attach the ribbon, measure and cut ribbon, attach, done. You end up with cute, custom shoes.
Have you ever tried any DIY tricks to alter or customize your clothes or shoes? If so, how did you like it? If you try this trick, I’d love to know how it turned out for you!


